
The instructions for editing your Members' Show catalog page include two options for getting your image to fit the page. Both of these assume that your image is taking up too much space and you want to make it take up less so that you have more room for text. If you have plenty of room for text already, don't worry about . You might even want to make your image taller. More about that later.
Let's address these options as they are presented on your editing page:
Option 1: Make your image shorter.
Crop your original image, then resubmit the cropped image using the file selector button below. This will make more room for text.
The operative word here is CROP. This means to remove image area from the top or bottom of your image, or both. It does NOT mean to scale or size your image, or to change the dpi.
Let's assume that this is your image (it's probably not, but just play along):
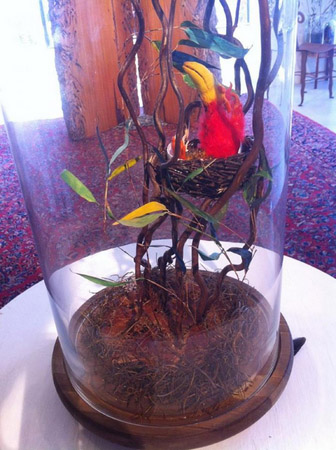
You can either use the image that you uploaded to your profile, or you can download the one on your catalog page (Save Image As... or something similar, depending on your computer and browser). If you downloaded the image from your page, it will be 1050 pixels wide, no matter what you originally uploaded, because we re-size it to that for the catalog (thats's 3.5 inches wide at 300 dpi). Again, don't change that! All you need to do is crop it.
Here's an example of cropping using Adobe Photoshop. Your image editing software may work slightly differently, but the same concepts apply. First, we select the portion of the image that we want to keep:
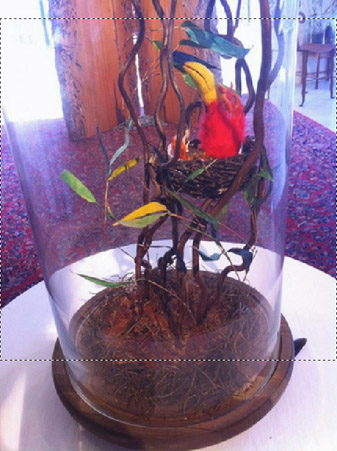
Note that I am cutting a little off the top, and a bunch off the bottom. When we execute the CROP command, here is the result:
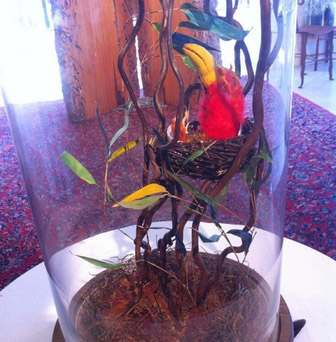
Now, we save this file and upload it to the page. At this point, you will see that there is more room for text, because the image isn't as tall. It is still exactly as wide, and the same resolution, so we didn't lose any quality or detail, just a portion of the image area.
You can do something similar with the Canvas Size command in Photoshop, although you can only crop from the top, the bottom, or an equal amount from each. Do not change the width.
Option 2: Make your image more horizontal.
Add white space to the sides of your original image, then resubmit using the file selector button below.
So what happens if you've cropped as much off the top and bottom of your image as you can bear, and it's still too tall, leaving little room for text. Well, here's a little trick you can do. Let's assume that you have gotten to this point, and you still need more room for your text:
The trick is to add white space to the sides of your image. You can do this by increasing the width of your image (again, in Photoshop, this is done with Canvas Size). When you do this, make sure that you have your background color set to white.
Let's change the width of this image to 1500px:
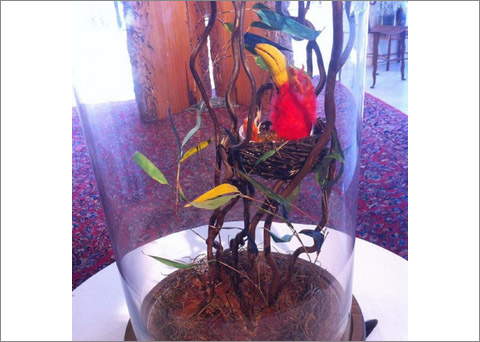
Note that I have added a thin grey line around the image just for this page, so you can see the size of the canvas. Don't add a gray line to your image unless you want it printed like that!
Now, you can either resize this image to 1050 pixels wide, or just upload it, and we'll do that part for you. Actually, better to let us do it, so your original image stays at full quality in case you have to add even more white space to make it fit or remove a litle in case you went too far. This could be a question of trial and error!
In any case, the resulting image will look like this: (I've shown a little of the text below so you can see that the image now doesn't fill the entire width of the column on the page.)
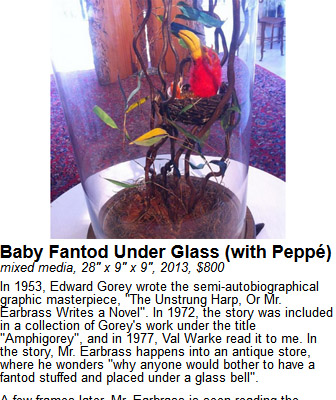
Use the first technique if your image contains extra content that you can crop, and use the second if your artwork itself is really tall, and you need to put space around it to make it fit.
Can't I just make the image smaller?
No. Well, you CAN, but it wont' GET smaller, it will just get fuzzier, because we always resize it to 1050 pixels wide.
Let's suppose that you start with this image:
If you downloaded that from your profile, and looked at Image Size in Photoshop, it would probably tell you that the image was 3.5inches wide (assuming 300dpi, but more about that later). What would happen if you size the image to 2.5" wide?
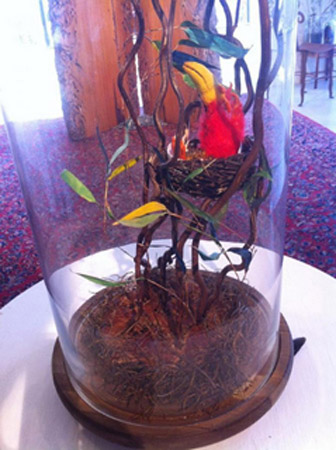
Notice that it isn't any smaller? Again, that's because we always resize the image to be 1050 pixels wide. When you shrunk it to 2.5 inches, what you were really doing was shrinking it to 750 pixels. Then we enlarge it to 1050, so what happens is that it doesn't get smaller, it gets blurrier.
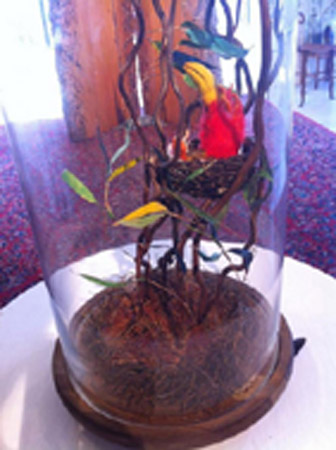
Watch what happens when we shrink it to 1.5":
And even further to a half an inch:
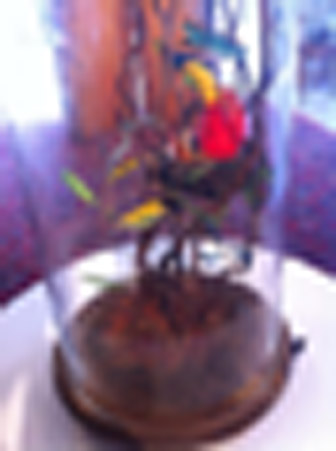
I am guessing that that's not what you want. Use one of the two options listed above, instead.
What if my image is really wide and I want to make it taller?
That's a tough one. You probably don't want it stretched. The best options is to crop something off of the sides. In this case, it's best to start with your original image, not one you downloaded from us, and try not to crop it to less than 1050 pixels wide, or you will lose quality.
Here's an example of such an image:
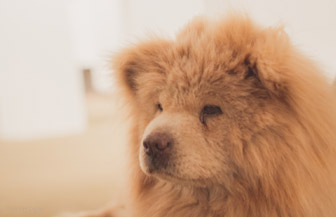
We select a narrower part of the image:
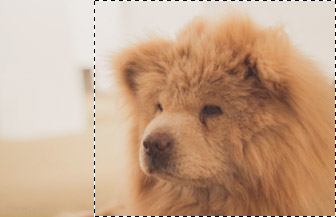
Since we always make them 1050 pixels wide, and because by cropping it you changed the aspect ratio, the image now appears taller than it was before, filling more of your page, and leaving less space for you to have to think of clever things to say.
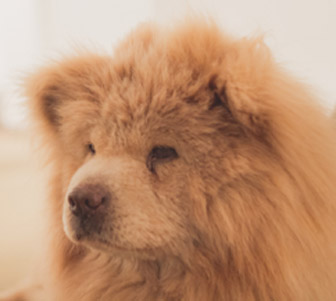
What about DPI? What DPI should my image be?
Can't you change the size your image by changing your DPI? NO.
When you're dealing with an image with a fixed pixel width, DPI is irrelevant. We print them at 300dpi, but the setting that Photoshop or other software sticks in there is a reference at best. We don't care of the image is at 300dpi, 72dpi, or one dpi. That's because pixels don't have a physical size. If they did, your iPhone would bigger than your computer monitor, because it has more pixels.
Here is that last image at 300dpi:
Here it is at 150dpi:
How about 72dpi?
And just for kicks, one dang d...p...i:
See any difference? I thought not. Go ahead, download the files, see for yourself. They are all the same. The DPI is just reference data stored in the file for the software's convenience in telling you how big it will print at various resolutions, but it doesn't affect the actual pixel data one bit.
I'll give you this... When you change the resolution in Photoshop, it also reduces the number of pixels! That's because Photoshop prioritizes physical size over pixel size. That's a hold-over from when Photoshop was used exclusively for print. If your file is currently 1050 pixels wide at 72dpi, and you change the resolution to 300dpi, Photoshop will enlarge the image to 4375 pixels wide! It does this by interpolating the pixels in between the existing pixels and coming up with a best guess as to what the image should look like at that new size. If you then shrink it to 1050, it drops pixels and smooths the remaining pixels to make the image look the best it can at the new smaller size.
For this reason, never do this operation in two steps. You will be creating pixels out of thin air, and then throwing them away again, and your image quality will suffer. If you MUST change the resolution, change the pixel size back to what it was in the same operation. This way, no pixels will be harmed in the process.
We hope this information has been helpful. Now get to work!